Materials:1 miniature-sized plastic water bottle (dried and empty) One sheet of any colored construction paper (color of the piggy bank body) One sheet of a different colored construction paper (color of the piggy bank nose) One glue stick or one roll of tape (preferably tape) 1 pencil 1 marker (Sharpie, black) 1 Exacto Knife 1 pair of scissors Optional: 4 marbles or 4 bottle caps for it's legs so that it stands Steps:1. Grab a miniature sized water bottle. 1. Peel the label off the water bottle. Cut out a rectangle the size of the label from a sheet of construction paper and wrap it around the bottle. 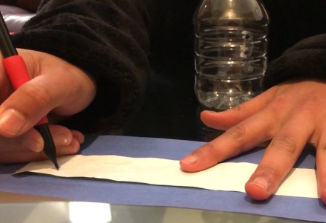 2. Put the bottle face down on another piece of construction paper, trace the cap, and cut out the circle and glue it to the cap. 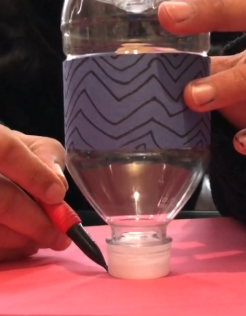 3. Cut out another rectangle of construction paper that will cover the cap entirely when you wrap it around the nose. 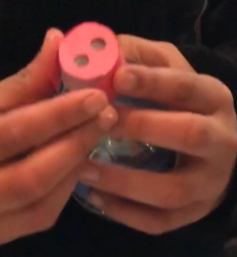 4. Draw nostrils on the nose and eyes on the bottle. Cut out two ear-shapes from construction paper and tape them above the eyes. 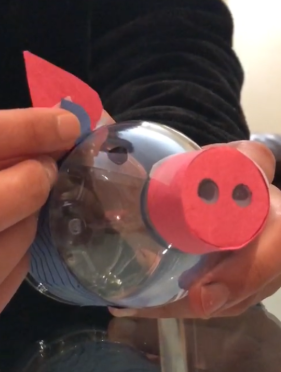 5. Ask an adult to cut a quarter-size slit through in a space between the belly and nose of the pig on the opposite side of the eyes. 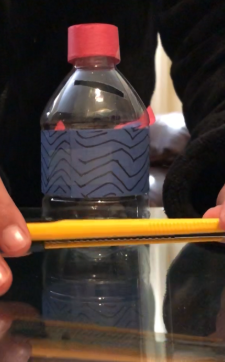 6. For the pig to stand on its stomach, use spare bottle caps or marbles as legs and make the slit in back. 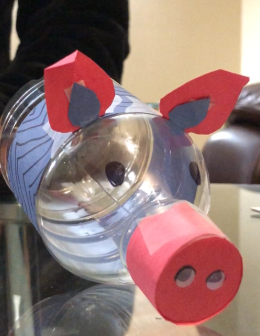 Your piggy bank is complete.Hope you enjoyed that little tutorial. Keep in mind, these piggy banks obviously aren't as good-quality as the ones you find at the stores, but they still do the job and even save the environment and a few dollars from your pocket. Make sure to comment below on what you thought of this DIY craft. Thanks.
3 Comments
Anusha Kumar
1/28/2020 02:16:43 pm
wonderful
Prajna Kumar
3/31/2020 05:13:40 pm
Wow, nice idea!
Anjali
3/31/2020 05:15:24 pm
sounds good Leave a Reply. |
AuthorHi, my name's Anusha Kumar. I'm a teenager and Girl Scout from NJ. I've taught many young children upcycling crafts through local events and upcycling workshops for my Silver Award in Plainsboro, and now I'm sharing them with others to spread awareness. Archives
May 2020
Categories |
 RSS Feed
